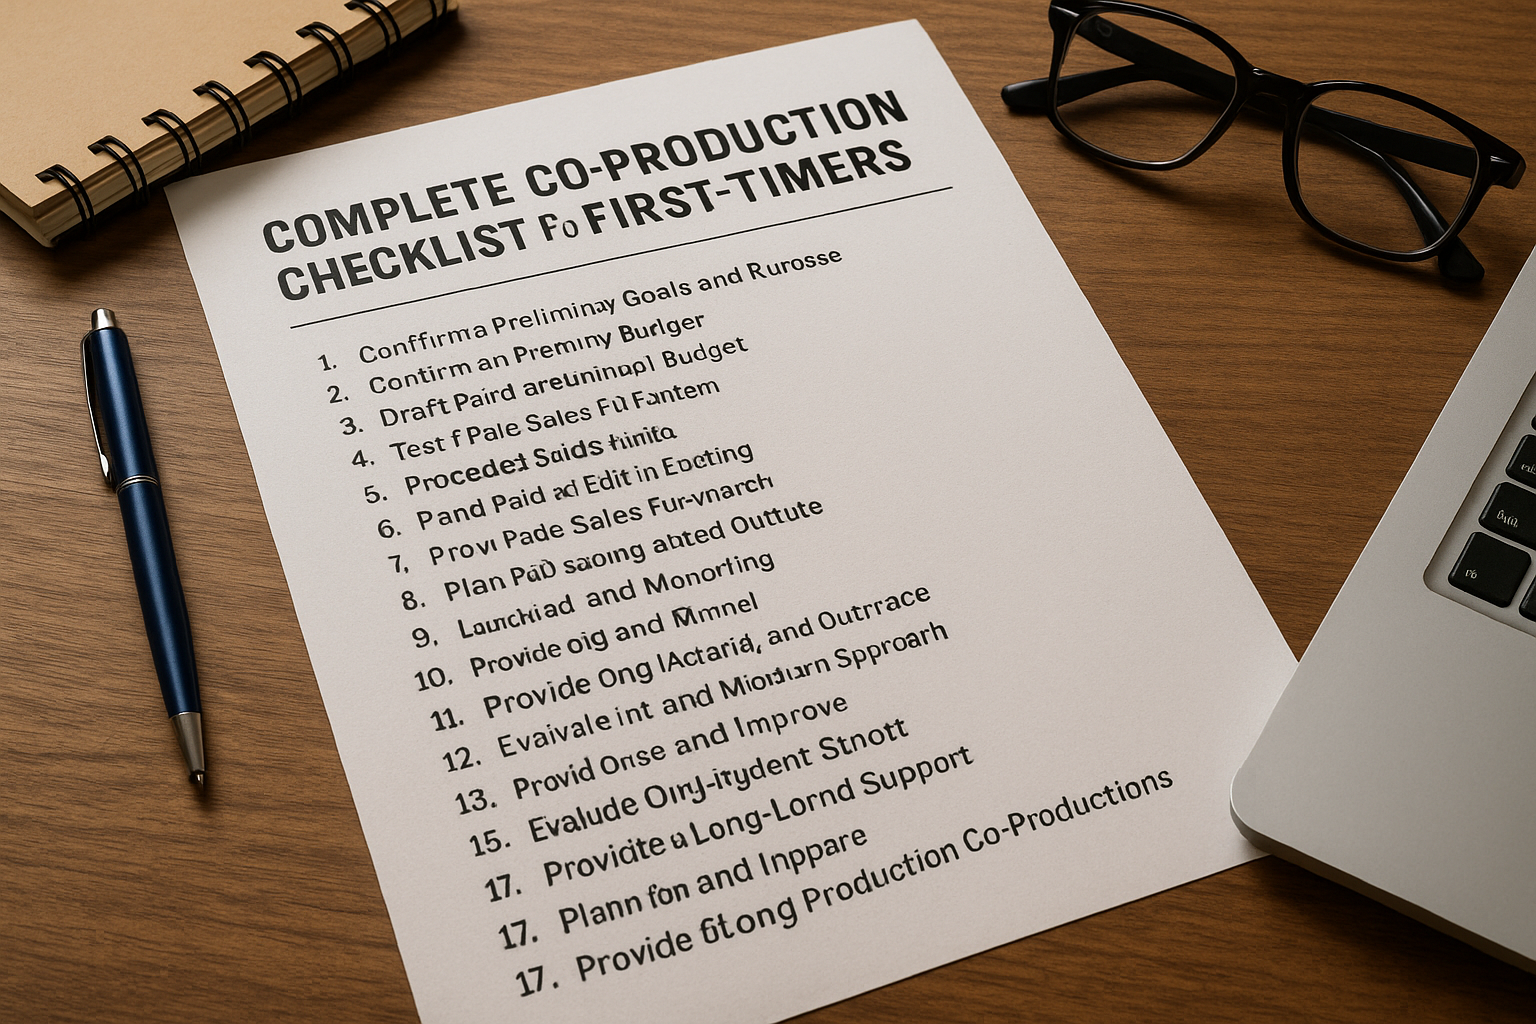
Entering the world of digital course co-production is exciting, but it can also feel overwhelming if you have never managed an educational project before. A solid checklist helps you stay organized, avoid costly mistakes, and keep everyone—your expert partner, contractors, and students—on track. This comprehensive guide walks you through the entire process, from early planning to post-launch optimization, so you can confidently deliver a high-quality course that meets both educational and business goals.
1. Define Vision, Goals, and Audience
Begin by clarifying the course concept and purpose. What transformation will learners experience after completing the course? Define measurable goals such as expected enrollment numbers, revenue targets, or learning outcomes. At the same time, identify your target audience: their professional background, pain points, and preferred learning style. Knowing exactly who you serve will shape everything from content structure to marketing language.
2. Confirm Expert Partner and Roles
A co-production succeeds when roles are clearly defined from the start. Write down who is responsible for content creation, video presentation, marketing copy, and technical setup. Decide whether the expert will appear on camera, provide lesson outlines, or simply approve scripts. As a co-producer, you may handle scheduling, budgeting, and marketing strategy, while the expert ensures academic accuracy. Formalizing responsibilities early prevents misunderstandings and reduces delays.
3. Draft a Preliminary Budget and Timeline
Next, estimate all costs—software subscriptions, video equipment, editing, copywriting, advertising, and contractor fees. Assign a realistic timeline with milestones for scripting, filming, editing, and launch. Build buffer time for unexpected delays such as reshoots or platform issues. A transparent budget and timeline keep the project financially viable and ensure accountability.
4. Create a Legal Framework
Before investing serious time or money, protect everyone’s interests with a legally sound agreement. The contract should outline revenue sharing, intellectual property rights, dispute resolution, and exit strategies. Include confidentiality clauses to safeguard proprietary materials and student data. Even if you trust your partner completely, a clear contract is essential for long-term collaboration and peace of mind.
5. Choose the Right Course Platform
Select a hosting platform that supports your course format and business model. Popular options like Hotmart, Eduzz, Kajabi, or Teachable offer different pricing structures, automation features, and integrations. Consider student experience (mobile responsiveness, ease of navigation), as well as back-end needs such as analytics and payment gateways. Your choice of platform directly affects scalability and customer satisfaction.
6. Plan the Curriculum in Detail
Work with your expert to create a module-by-module outline. Each lesson should have a clear learning objective and suggested format—video lecture, downloadable PDF, interactive quiz, or live Q&A. Determine approximate video lengths and supporting materials. A well-structured curriculum keeps production focused and ensures that every piece of content serves a specific educational purpose.
7. Assemble the Production Toolkit
Professional production requires the right tools. Invest in quality microphones, cameras, and lighting, or hire a professional videographer if needed. Choose editing software for both video and audio. For written content, select collaborative tools such as Google Docs or Notion to streamline script reviews. A reliable project management app—Trello, Asana, or ClickUp—helps track tasks and deadlines across the team.
8. Set Up Branding and Design
Consistent branding reinforces credibility. Create a course logo, color palette, and slide templates that match the expert’s personal brand or your company’s visual identity. Decide on fonts, graphics, and background music that align with the course mood. High-quality visuals and coherent design elevate perceived value and help learners stay engaged.
9. Produce and Edit Content
Begin production according to the agreed schedule. Encourage your expert to deliver content in small batches so you can start editing early. Check every video for audio clarity, visual quality, and adherence to the script. Include captions or transcripts to improve accessibility and reach a wider audience. Keep file sizes optimized for smooth streaming without sacrificing quality.
10. Develop Supplementary Materials
Enhance the main content with workbooks, cheat sheets, and practical exercises. Provide quizzes to reinforce learning and track progress. Prepare email templates for onboarding, module announcements, and student support. These resources increase engagement and help learners achieve better results, which in turn improves course reviews and referrals.
11. Build the Sales Funnel
A successful launch depends on a well-designed marketing funnel. Create a compelling landing page with persuasive copy and strong calls to action. Offer a free lead magnet—such as a mini-lesson or checklist—to grow your email list. Set up automated email sequences to nurture prospects and drive enrollments. Consider early-bird pricing or bonus content to create urgency.
12. Plan Paid Advertising and Outreach
Work with your expert to determine advertising strategy and budget. Identify key channels—Facebook Ads, Instagram, Google Ads, or LinkedIn—based on where your audience spends time. Prepare ad creatives and copy well in advance to allow for testing. Align all marketing efforts with the launch timeline to build anticipation and maximize conversions.
13. Test the Entire System
Before going live, test everything. Check payment gateways, email automations, and video playback across devices. Invite a small beta group to review lessons and provide feedback. Fix any technical issues quickly to avoid frustrating paying students. A smooth, bug-free experience at launch builds trust and reduces support tickets.
14. Launch and Monitor
When launch day arrives, follow your promotional calendar precisely. Monitor sales metrics, website traffic, and email engagement. Be ready to answer questions and provide real-time support. Document everything from ad performance to student feedback so you can refine your strategy for future launches.
15. Provide Ongoing Student Support
Your work doesn’t end after launch. Respond to student inquiries promptly and encourage community interaction through discussion boards or live Q&A sessions. Offer periodic updates or bonus lessons to maintain engagement. Excellent support increases completion rates and fosters glowing testimonials that boost future sales.
16. Evaluate and Improve
After the course has been running for a few weeks, review key performance indicators such as enrollment numbers, completion rates, and revenue. Analyze feedback from students and the expert partner. Identify strengths to replicate and weaknesses to fix. Use these insights to plan version 2.0 or scale the course into an evergreen product.
17. Plan for Long-Term Growth
Finally, think beyond the first launch. Can the course be translated into another language or adapted for different audiences? Could you repurpose content into a podcast, book, or membership site? Build a roadmap for future expansions and new partnerships. Long-term thinking ensures that each course becomes a sustainable asset rather than a one-time project.
Conclusion
A detailed checklist is more than a to-do list—it is a strategic roadmap. By following these seventeen steps, first-time co-producers can move from idea to launch with confidence. This approach minimizes surprises, protects professional relationships, and maximizes revenue potential. With preparation and commitment, your first digital course co-production can set the foundation for a thriving and scalable business.